Map Options
The NAVER Maps SDK provides various options that enable you to change map information and styles, such as map types, layers and display options.
Map types and additional information
Using the NaverMap APIs, you can choose a background map type and additional information you want to show on your map.
Map types
The mapType property specifies a map type. Once you change your map type, the style of the background map is changed. Available map types are defined in the NaverMap.MapType enum. The NAVER Maps SDK supports the following map types:
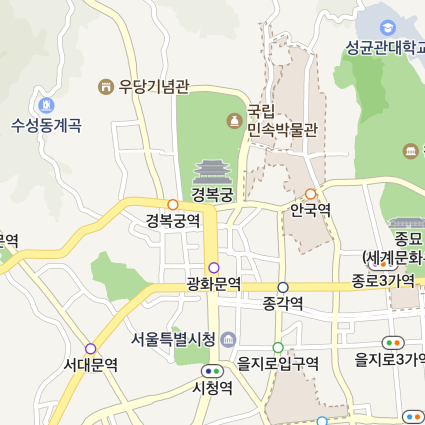
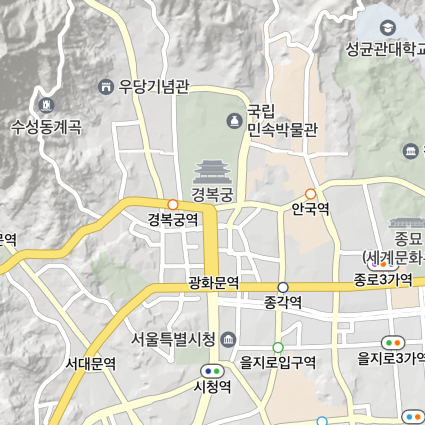
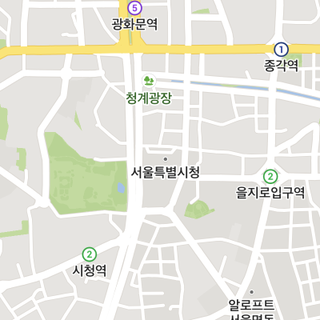
Basic: Basic map. It displays various types of information including rivers, green fields, roads and symbols.
Navi: Specialized map for car navigation.
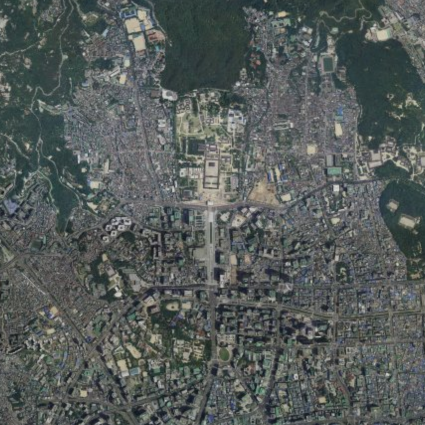
Satellite: Satellite map. Only satellite picture elements are displayed.
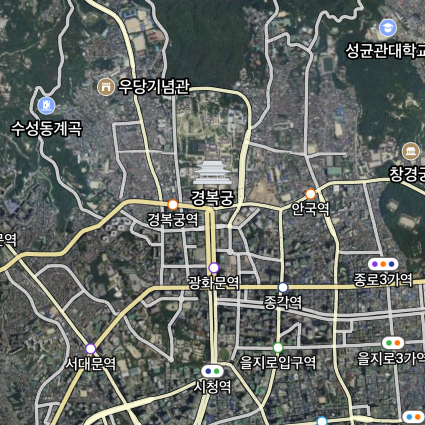
Hybrid: Hybrid map that displays satellite pictures with roads and symbols.NaviHybrid: Specialized hybrid map that displays satellite pictures with roads and symbols for car navigation.
Terrain: Terrain map. It displays a physical map based on terrain information.
The following code example sets the map type to Hybrid.
naverMap.setMapType(NaverMap.MapType.Hybrid);
Java
naverMap.setMapType(NaverMap.MapType.Hybrid);
Kotlin
naverMap.mapType = NaverMap.MapType.Hybrid
Layer groups
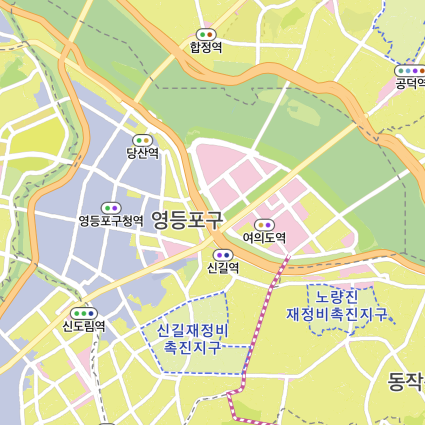
Using the setLayerGroupEnabled() method, you can display layer groups that represent additional information on the background map. Available layer groups are defined as constants in the NaverMap class. The NAVER Maps SDK supports the following layer groups:
LAYER_GROUP_BUILDING: Building group. It displays buildings when enabled. It is enabled by default.

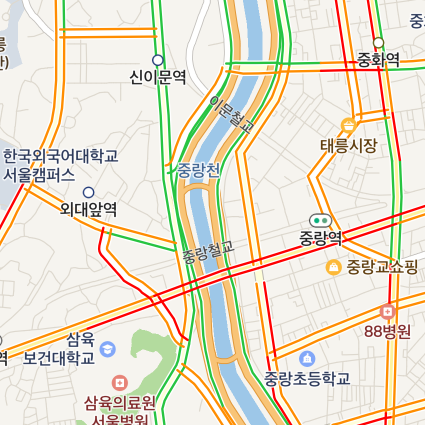
LAYER_GROUP_TRAFFIC: Live traffic group. It displays live traffic when enabled.
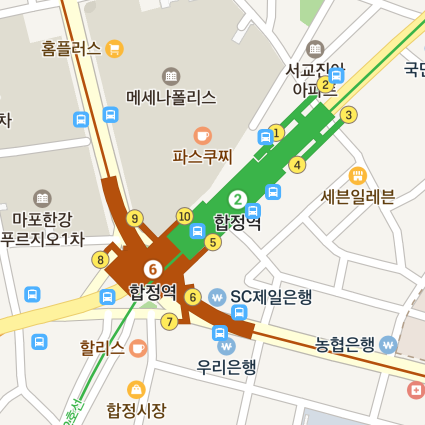
LAYER_GROUP_TRANSIT: Public transit group. It displays public transit elements including trains, subway line maps, and bus stops, when enabled.
LAYER_GROUP_BICYCLE: Bicycle group. It displays elements associated with bicycles, including bicycle lanes and bicycle parking spaces, when enabled.

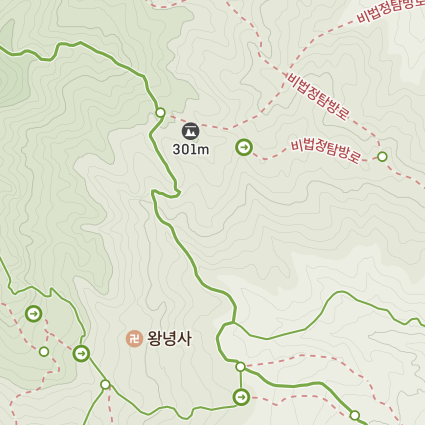
LAYER_GROUP_MOUNTAIN: Trail group. It displays elements associated with mountain climbing, including trails and contours, when enabled.
LAYER_GROUP_CADASTRAL: Cadastral group. It displays cadastral map when enabled.
Unlike map types, two or more layer groups can be enabled simultaneously. Note that some layer groups can be enabled on specific map types. Therefore, layer groups are not displayed on a map type that does not support those layer groups even if they are enabled. The following table shows layer groups that can be displayed for each map type.
| Basic | Navi | Satellite | Hybrid | Terrain | |
|---|---|---|---|---|---|
| Live traffic | O | O | O | O | O |
| Building | O | O | O† | O† | |
| Transit | O | O | O | O | |
| Bicycle | O | O | O | O | |
| Trail | O | O | O | O | |
| Cadastral | O | O | O | O |
†: Displays only symbols for building addresses and entrances when enabled.
The following code example disables the building layer groups and enables transit layer groups on the map.
naverMap.setLayerGroupEnabled(NaverMap.LAYER_GROUP_BUILDING, false);
naverMap.setLayerGroupEnabled(NaverMap.LAYER_GROUP_TRANSIT, true);
Java
naverMap.setLayerGroupEnabled(NaverMap.LAYER_GROUP_BUILDING, false);
naverMap.setLayerGroupEnabled(NaverMap.LAYER_GROUP_TRANSIT, true);
Kotlin
naverMap.setLayerGroupEnabled(NaverMap.LAYER_GROUP_BUILDING, false)
naverMap.setLayerGroupEnabled(NaverMap.LAYER_GROUP_TRANSIT, true)
Indoor map
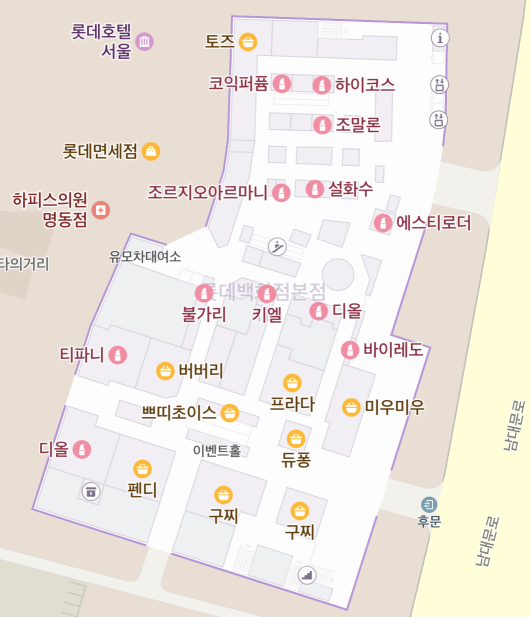
The indoorEnabled property enables or disables an indoor map. If this property is enabled, the map shows an indoor map for the focused area when the map is at high zoom levels and the area has an indoor map. Note that indoor maps are not displayed on a map type that does not support them even if they are enabled. Only the Basic and Terrain map types support indoor maps.
The following code example enables an indoor map.
naverMap.setIndoorEnabled(true);
Java
naverMap.setIndoorEnabled(true);
Kotlin
naverMap.isIndoorEnabled = true
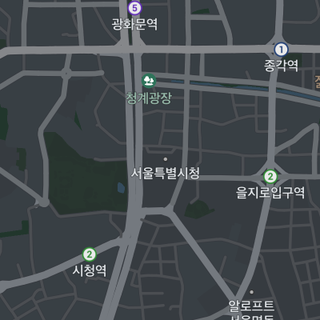
Night mode
The nightModeEnabled property enables or disables the night mode. With the night mode enabled, the overall map becomes darker. Note that the night mode does not have any effect on a map type that does not support the mode even if it is enabled. Only the Navi map type supports the night mode.
The following code example enables the night mode.
naverMap.setNightModeEnabled(true);
Java
naverMap.setNightModeEnabled(true);
Kotlin
naverMap.isNightModeEnabled = true
Lite mode
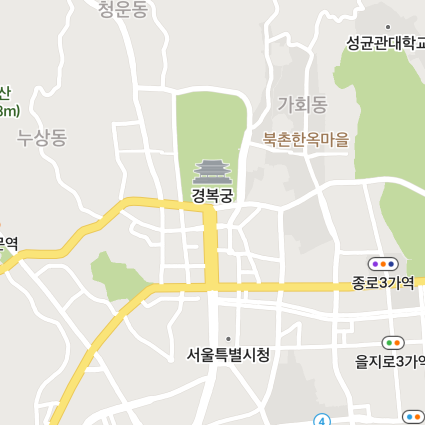
The liteModeEnabled property enables or disables the lite mode. With the lite mode enabled, the map is loaded more quickly and consumes less memory. A lite mode app, however, has the following limitations:
- The image quality of the map is deteriorated.
- The lite mode is not available on the
Navimap type. - No layer groups are available.
- Indoor maps and night mode are not available.
- Display options cannot be changed.
- When a camera is rotated or tilted, map symbols are also rotated or tilted.
- When the zoom level becomes bigger or smaller, map symbols somewhat become bigger or smaller as well.
- Click events for map symbols cannot be handled.
- Overlapping of markers and map symbols cannot be handled.
Therefore, the lite mode should be used restrictively only if necessary.
The following code example enables the lite mode.
naverMap.setLiteModeEnabled(true);
Java
naverMap.setLiteModeEnabled(true);
Kotlin
naverMap.isLiteModeEnabled = true
Display options
Display options enable you to visually style your map while the type of elements on the map remains the same.
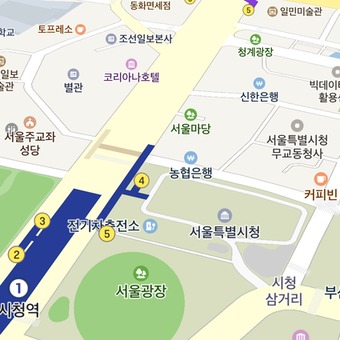
lightness
The lightness property specifies the lightness of your map. As increasing the lightness of your map does not change the lightness of overlays on the map, this option can be used to highlight overlays. This value can range from -1 to 1: values closer to -1 increase darkness while those closer to 1 increase lightness. The default value is 0.
The following code example increases lightness of the map by 30%.
naverMap.setLightness(0.3f);
Java
naverMap.setLightness(0.3f);
Kotlin
naverMap.lightness = 0.3f
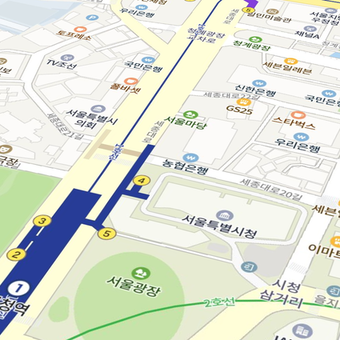
Building height
When your map is tilted, buildings on the map are displayed in three dimensions. The buildingHeight property specifies the height of buildings displayed in three dimensions. This value can range from 0 to 1: if the value is set to 0, buildings are not displayed in three dimensions even if the map is tilted. The default value is 1.
The following code example sets the height of buildings to 50%.
naverMap.setBuildingHeight(0.5f);
Java
naverMap.setBuildingHeight(0.5f);
Kotlin
naverMap.buildingHeight = 0.5f
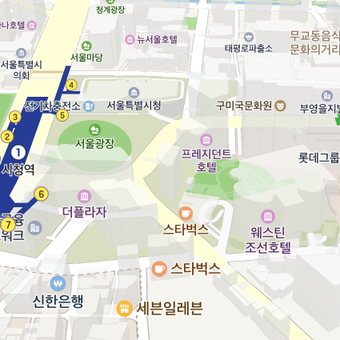
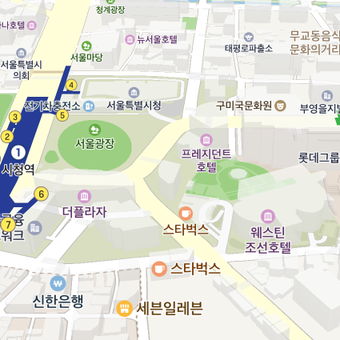
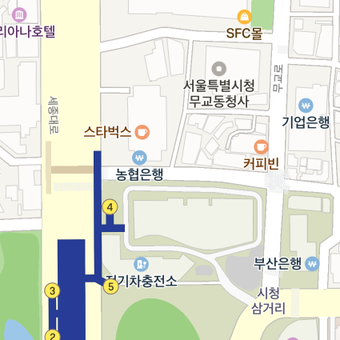
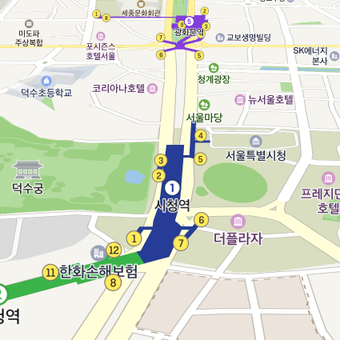
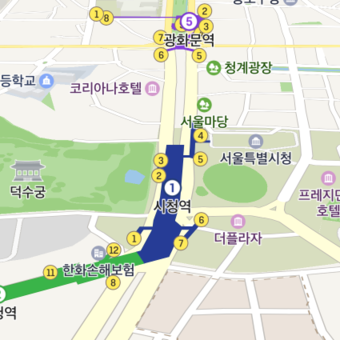
Symbol size
The symbolScale property specifies the size of symbols. This value can range from 0 to 2: the bigger the value is, the bigger symbols are. The default value is 1.
The following code example doubles the size of symbols.
naverMap.setSymbolScale(2);
Java
naverMap.setSymbolScale(2);
Kotlin
naverMap.symbolScale = 2f
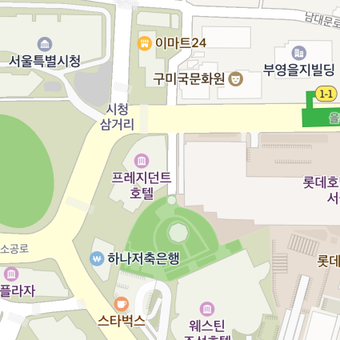
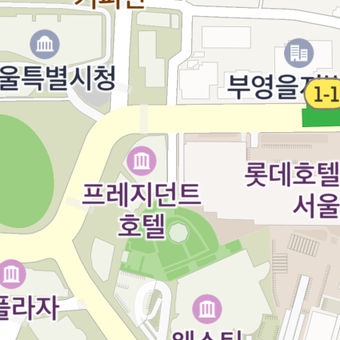
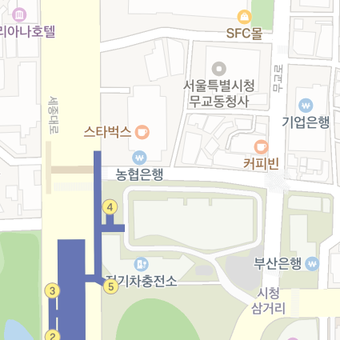
Perspective of symbols
When your map is tilted, closer symbols become bigger while distant symbols become smaller. The symbolPerspectiveRatio property specifies the perspective of symbols on your map. This value can range from 0 to 1: smaller values decrease perspective, and if the value is 0, no perspective applies. The default value is 1.
The following code example turns off the perspective of symbols.
naverMap.setSymbolPerspectiveRatio(0);
Java
naverMap.setSymbolPerspectiveRatio(0);
Kotlin
naverMap.symbolPerspectiveRatio = 0f
Initial options
When creating a MapFragment or MapView, you can configure initial options. You should use NaverMapOptions when directly creating an object, or XML properties when creating an object using the layout.
NaverMapOptions
NaverMapOptions is a class that specifies initial options of a map. By calling various methods, you can specify initial options including the initial position of a camera and map type. All the methods of the NaverMapOptions class return the object itself, allowing method chaining. In addition, the NaverMapOptions class is Parcelable, so you can use the Bundle class to save or import options.
The following code example sets the initial camera position to Busan, and the map type to terrain.
NaverMapOptions options = new NaverMapOptions()
    .camera(new CameraPosition(new LatLng(35.1798159, 129.0750222), 8))
    .mapType(NaverMap.MapType.Terrain);
Java
NaverMapOptions options = new NaverMapOptions()
    .camera(new CameraPosition(new LatLng(35.1798159, 129.0750222), 8))
    .mapType(NaverMap.MapType.Terrain);
Kotlin
val options = NaverMapOptions()
    .camera(CameraPosition(LatLng(35.1798159, 129.0750222), 8.0))
    .mapType(NaverMap.MapType.Terrain)
In the MapFragment and MapView, there is a factory method or constructor that gets NaverMapOptions as a parameter. You can pass the NaverMapOptions object to this method or constructor to set the initial options of the map.
The following code example sets the NaverMapOptions to create a MapFragment.
MapFragment mapFragment = MapFragment.newInstance(options);
Java
MapFragment mapFragment = MapFragment.newInstance(options);
Kotlin
val mapFragment = MapFragment.newInstance(options)
XML properties
When you add a MapFragment or MapView to the layout, the system automatically creates an instance and thus you cannot use the NaverMapOptions. In this case, you should use XML properties. The MapFragment and MapView have custom properties starting with navermap_. With these properties, you can set various initial options.
The following code example sets the initial camera position to Busan and the map type to terrain, by using the XML properties.
<androidx.fragment.app.FragmentContainerView xmlns:app="http://schemas.android.com/apk/res-auto"
    android:id="@+id/map_fragment"
    android:name="com.naver.maps.map.MapFragment"
    android:layout_width="match_parent"
    android:layout_height="match_parent"
    app:navermap_latitude="35.1798159"
    app:navermap_longitude="129.0750222"
    app:navermap_zoom="8"
    app:navermap_mapType="Terrain" />
Option change event
When options including map types and display options are changed, an event occurs. If you add a NaverMap.OnOptionChangeListener by using the addOnOptionChangeListener() method, you can receive an option change event. When an option of a map is changed, the onOptionChange() callback method is called.
This event is useful when you need to change user interfaces or other properties depending on your map options. For example, if the night mode of the map is enabled, it is natural for markers on the map to be darker. To do so, you can use the option change event.
The following code example changes icons of markers depending on whether the night mode is enabled or not.
Marker marker = ...

naverMap.addOnOptionChangeListener(() -> {
    if (naverMap.isNightModeEnabled()) {
        marker.setIcon(OverlayImage.fromResource(R.drawable.night_icon));
    } else {
        marker.setIcon(OverlayImage.fromResource(R.drawable.day_icon));
    }
});
Java
Marker marker = ...

naverMap.addOnOptionChangeListener(() -> {
    if (naverMap.isNightModeEnabled()) {
        marker.setIcon(OverlayImage.fromResource(R.drawable.night_icon));
    } else {
        marker.setIcon(OverlayImage.fromResource(R.drawable.day_icon));
    }
});
Kotlin
val marker: Marker = ...

naverMap.addOnOptionChangeListener {
    marker.icon = OverlayImage.fromResource(
        if (naverMap.isNightModeEnabled) {
            R.drawable.night_icon
        } else {
            R.drawable.day_icon
        }
    )
}